Getting Started
We can’t all be druids. So from Time to time we have to replace dead or broken plants in our critters’ homes. It can become pretty expensive to replace them. What is the solution? Growing your own.
We’ve covered using clean up crews to help maintain your critter’s home now we need to add plants into the mix. Plants help clean the air and give both your critter and the clean up crews somewhere to hide and climb on.
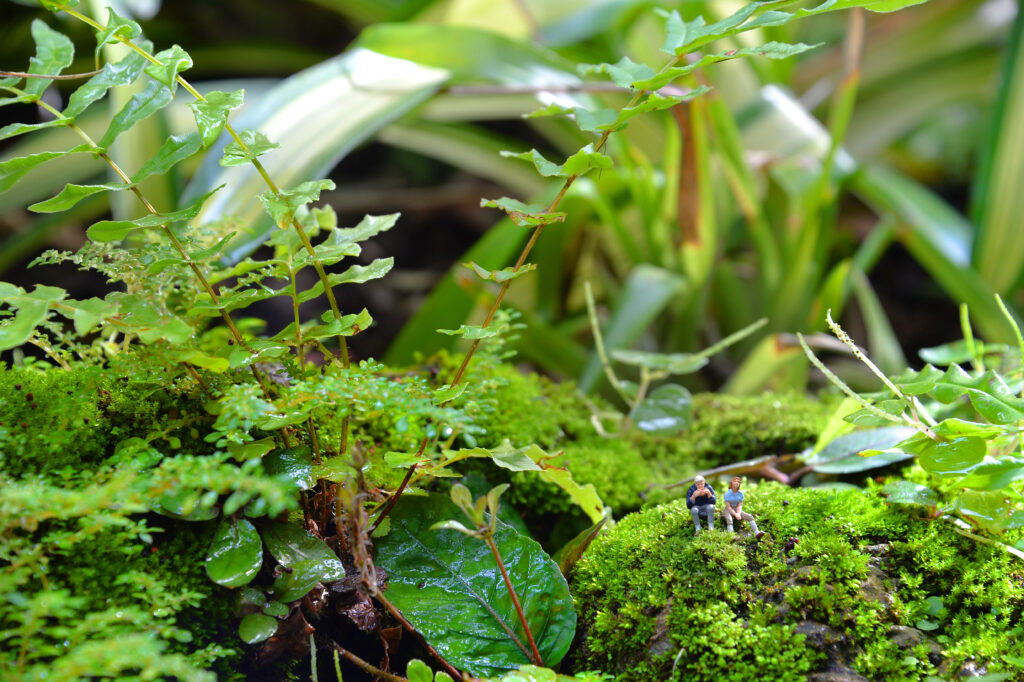
Critters and clean-up crews alike will benefit from having live plants in the enclosure. Critters in the arboreal and tropical environments will thrive with the proper foilage in place. It proves natural places for your critters to hide and sleep. Giving your critter somewhere to hide gives them a sense of security, leading to a healthier and happier critter. Clean-up crews like isopods nest in the roots proving a safe place to hide from the critters that would them as well as providing nutrients for the plants themselves. Be sure to research which plants fit well with your critters and clean-up crews.
For tree dwelling critters adding foilage can be difficult. Providing branches with live plants planted in containers that can be hidden by the branches is one way to add a natural looking tree top enviornment to an enclosure. Watering and maintaining these can be more work than some can put into critter enclosure care. As an alternative the branches can be the enclosure floor. In this case place the plants between the branches as if they are growing from the branches. There are many options for creating tree environments. Do your research and find the best way to make your critter happy.
Threats and Benefits
The biggest threats to your greenery in your enclosure are your critters. Critters that burrow will dig them up, herbivores or omnivores will eat them, some will just bed in them and crush them. However they do it critters will make it difficult to keep plants in your enclosure. Sometimes plants will just not take root in a new environment. Whatever the reason they will die and need to be replaced. You could purchase new foilage and wait for delivery and then replace the broken or dead ones or… you could walk over to your plant nursery and quickly and easily replace your them.
Plant Nurseries
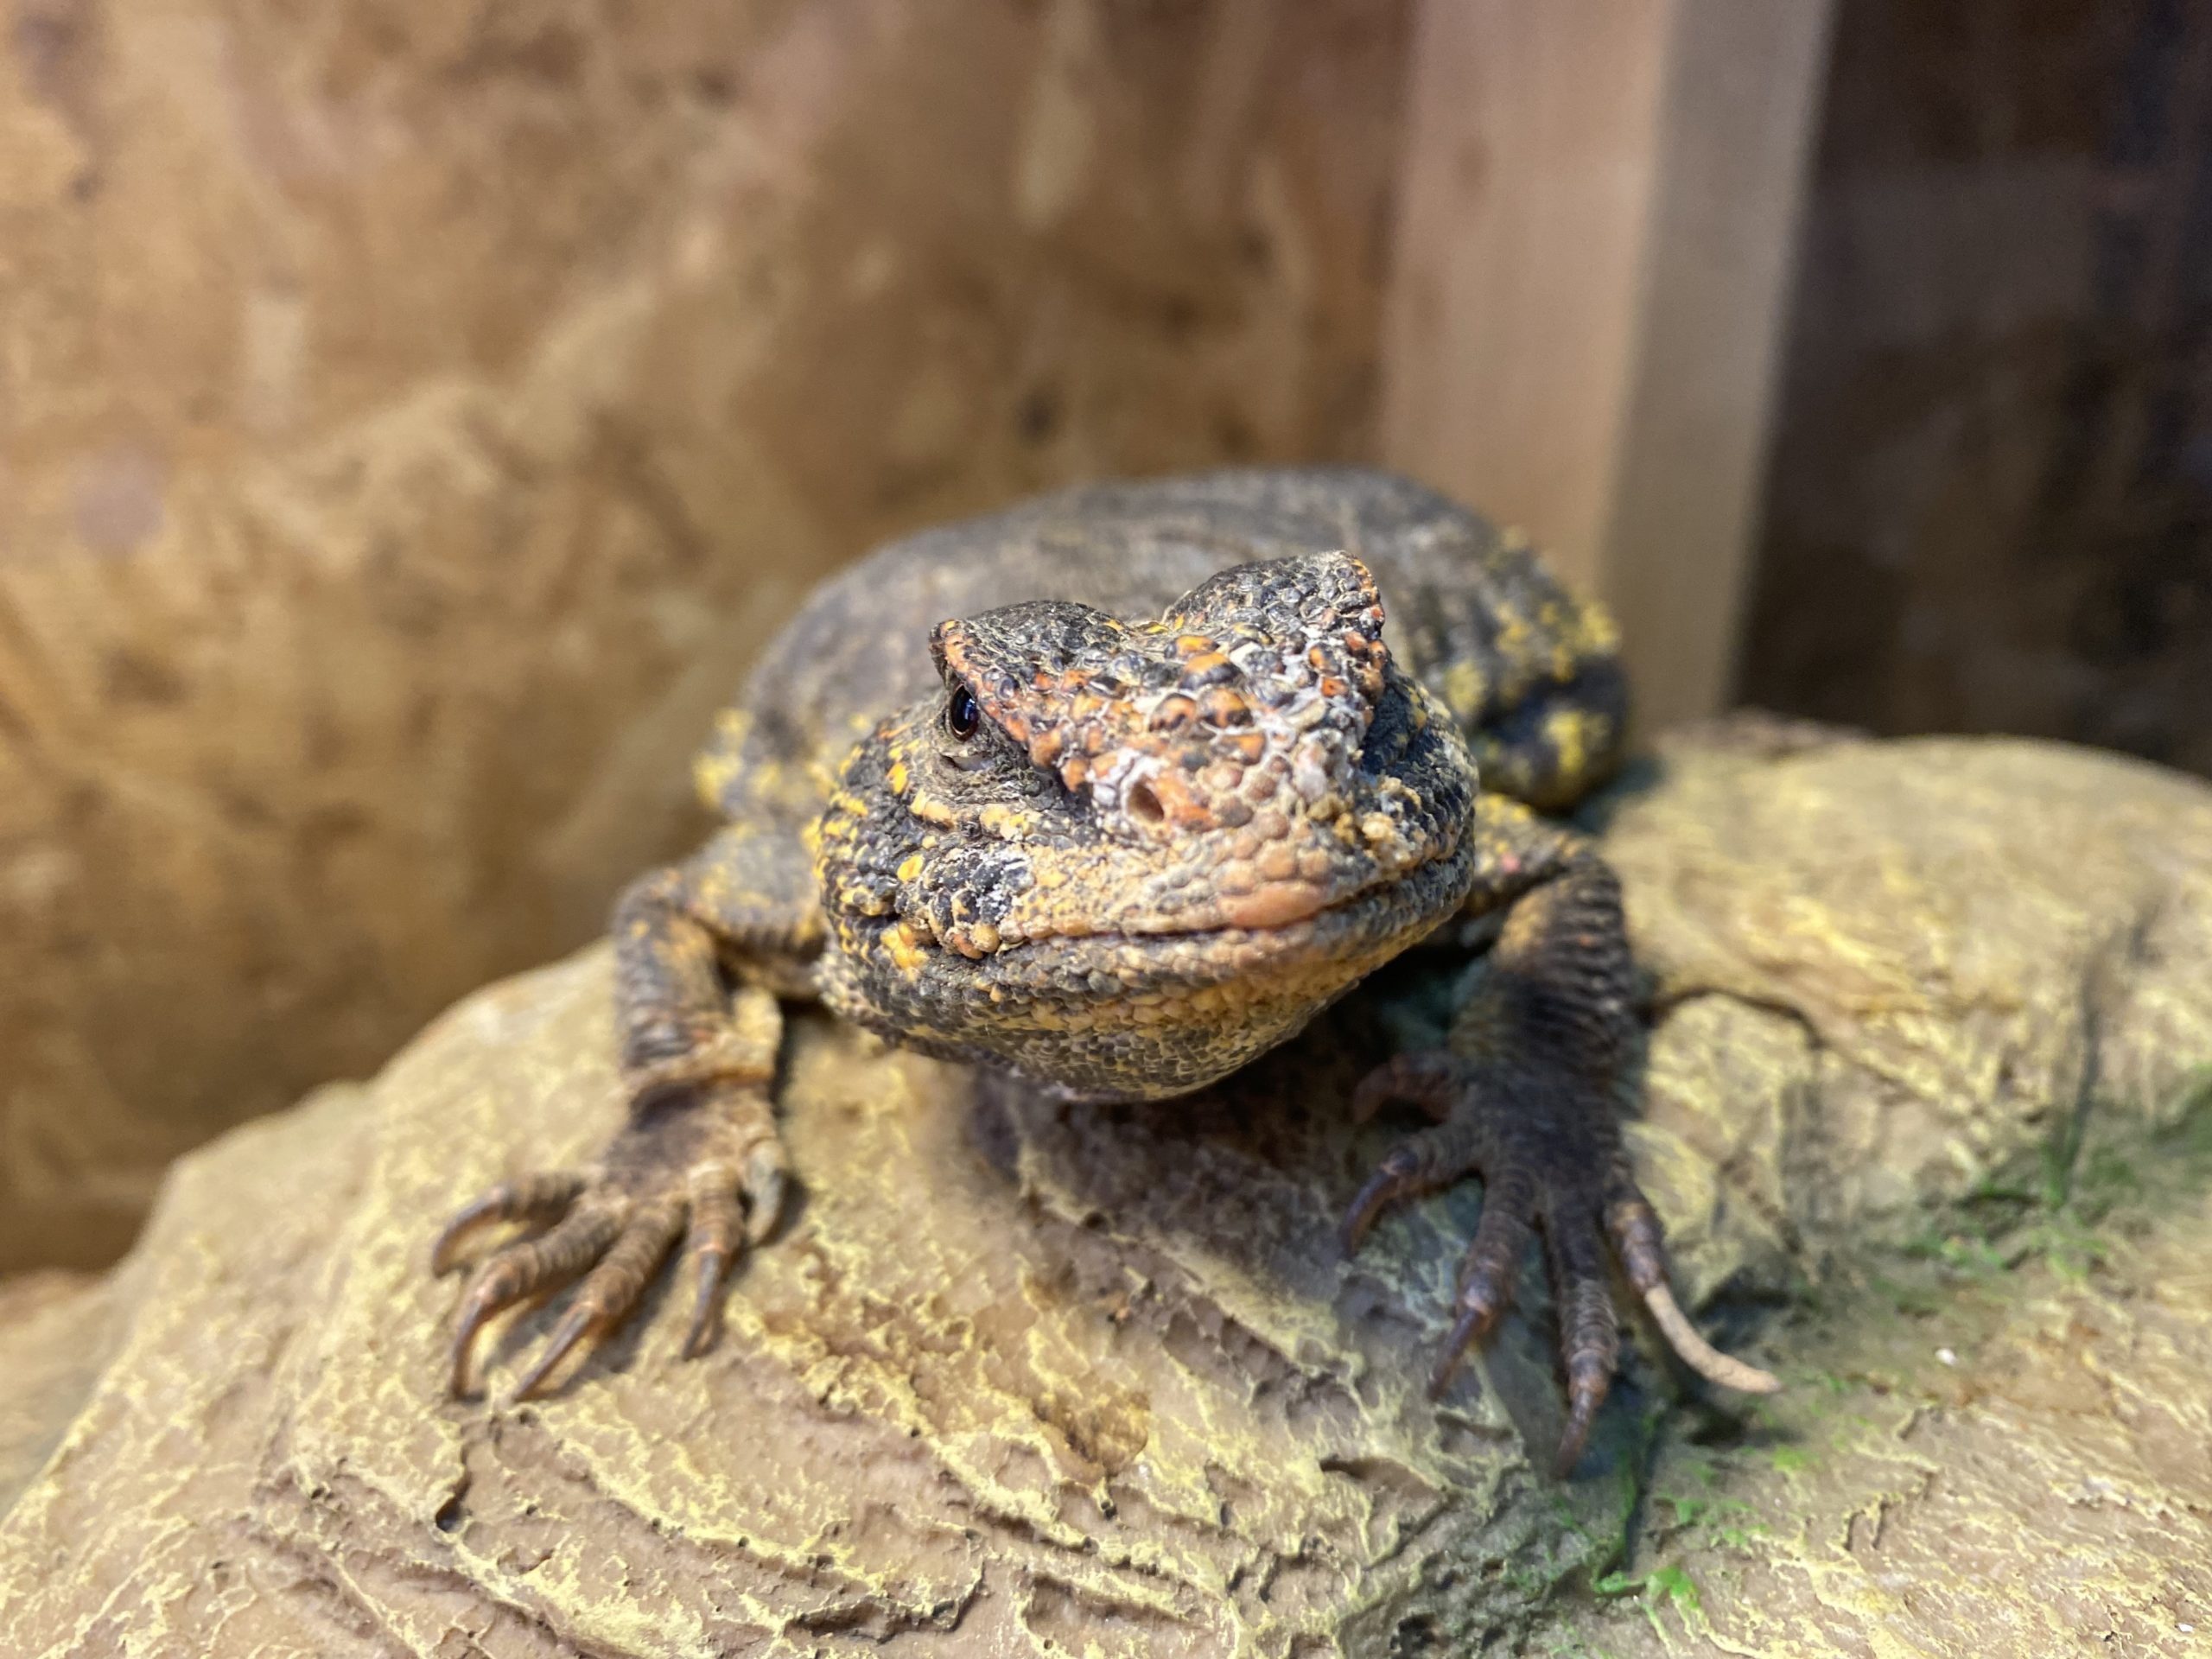
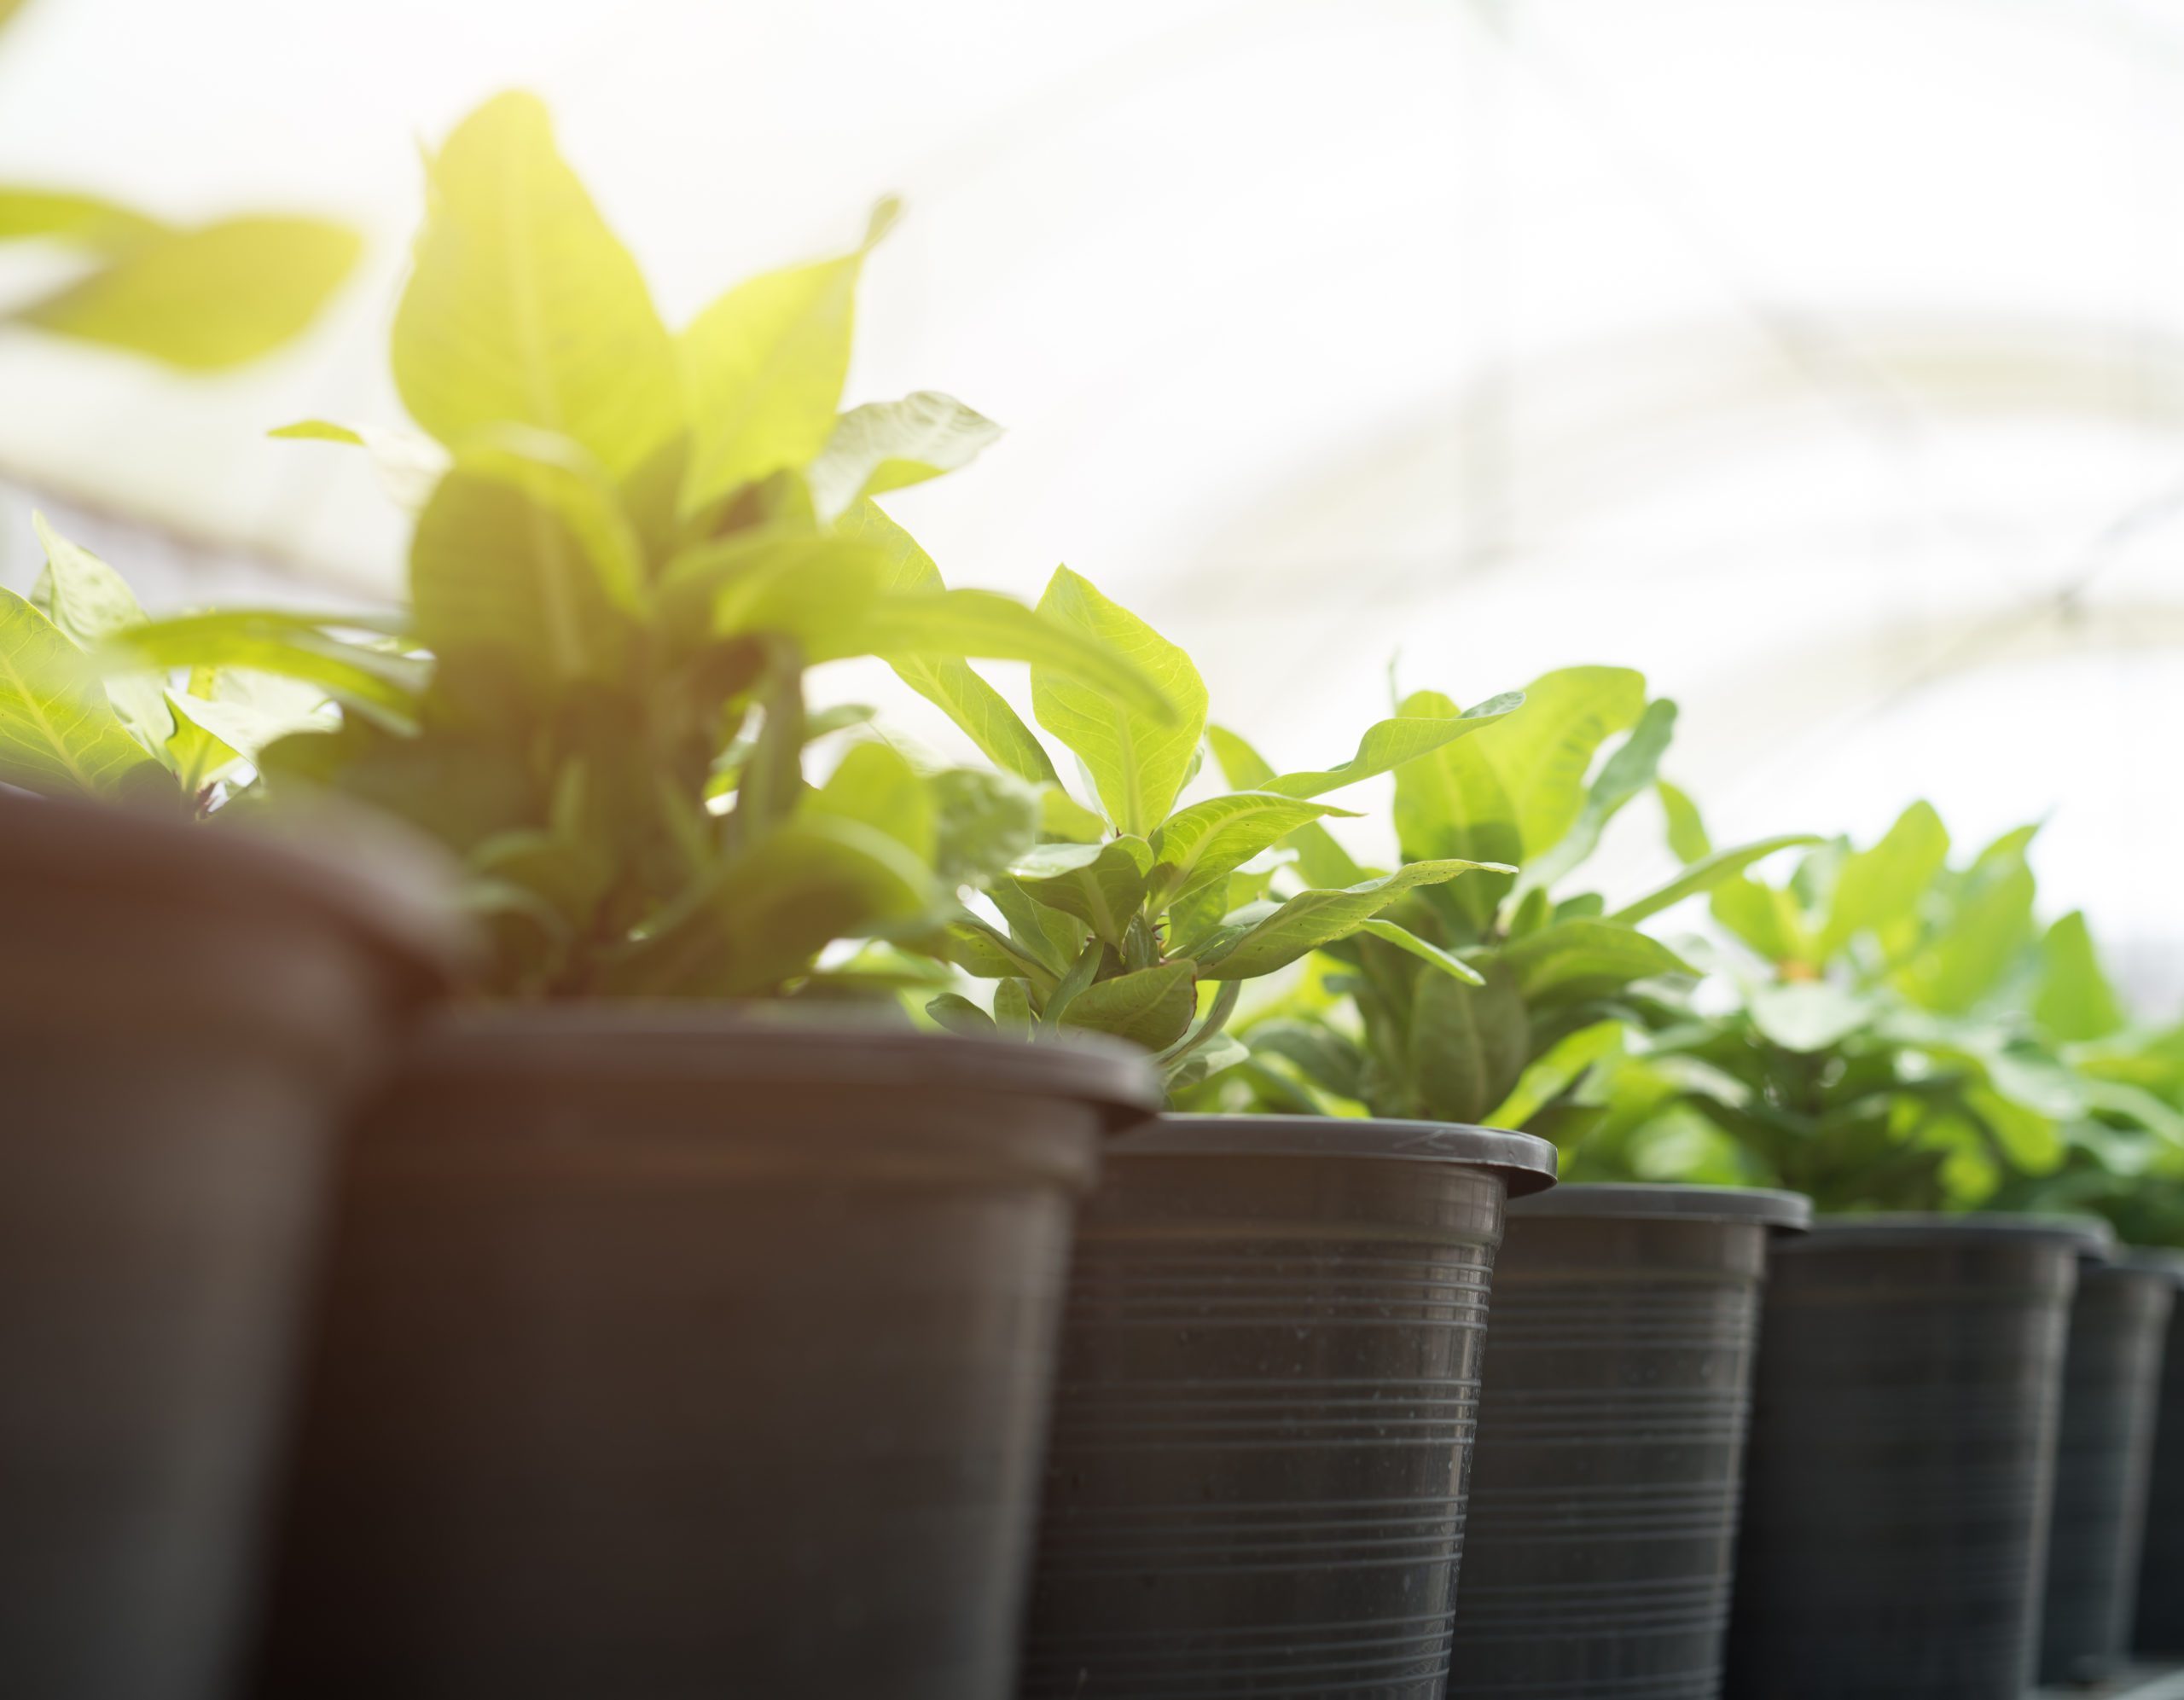
Having a small plant nursery provides you with a fresh supply of foilage not only for decorating but also for feeding your herbivores and omnivores. To begin you will need nothing more than a small container (large enough for the number of plants you want to grow), potting soil (without pesticides), access to sunlight (or a grow light), and your plants. When you begin your nursery you will most likely have an assortment of plants, make sure each one has the room it needs to be healthy. You will need to do the research for the plants you want to use to be sure they can cohabitate with each other if you are planning on using a single container. Some can thrive together while others will compete for nutrients and space. There are endless combinations. Make sure to check the requirements before placing them in your enclosure. For a handy guide to compatible plants click here.
Creating Your Plant Nursery
Once you have your materials it’s time to grow. Place the container or containers in a secure place. Be mindful of critters, especially the furry ones. Cats love to lay in garden beds. If you are relying on natural sunlight make sure the plants are getting enough. Most will require at least 8 hours of direct sunlight (if they are outdoor plants) so be sure to check the light requirements. If you are using a grow light you will need to be sure they are close enough. Not all grow lights are created equal. Some require the plants to be closer to be effective.
When you have the container in a secure place put down a drainage layer. Plants sitting in standing water will develop root-rot and could infect others. Standing water also allows mold to grow which can spread to your critter’s home when transferred. You can purchase patio or indoor garden kits that come with containers that have a drainage layer built in. These work well and we have used them successfully, but they can be expensive, 2-3 inches of small rock will work perfectly for a drainage layer.
Next put the soil (and fertilizer if you are using any) on the drainage layer, compacting slightly. Avoid dumping the soil. You want to add the soil in layers of 2-3 inches until the container is full. If you are using fertilizer you can either mix the soil and fertilizer together before placing it in the container or make a thin layer of fertilizer between each layer of soil. We have done both and haven’t noticed a difference in plant growth and health so it is more of a personal preference.
Adding the Plants
Now it’s time to place your plants. Use a grid system and establish a plan before placing your them. This may sound OCD or over the top and it may be, but you will thank us later when your plants are healthy and you know what is growing and where. We usually use some graph paper. Clearly mark the front both on the paper and on the container. Establish how much room each plant will need and mark it on the layout. This is especially important if you are growing from seed. Once you have your layout use it to make your holes for your plants or seeds. Just another quick tip here, If you are using plants and not growing from seed be sure to wash your plants in warm water before transferring. Most nurseries use soil with pesticides or treat the plants with pesticides. They do not want the crawlies, but we do.
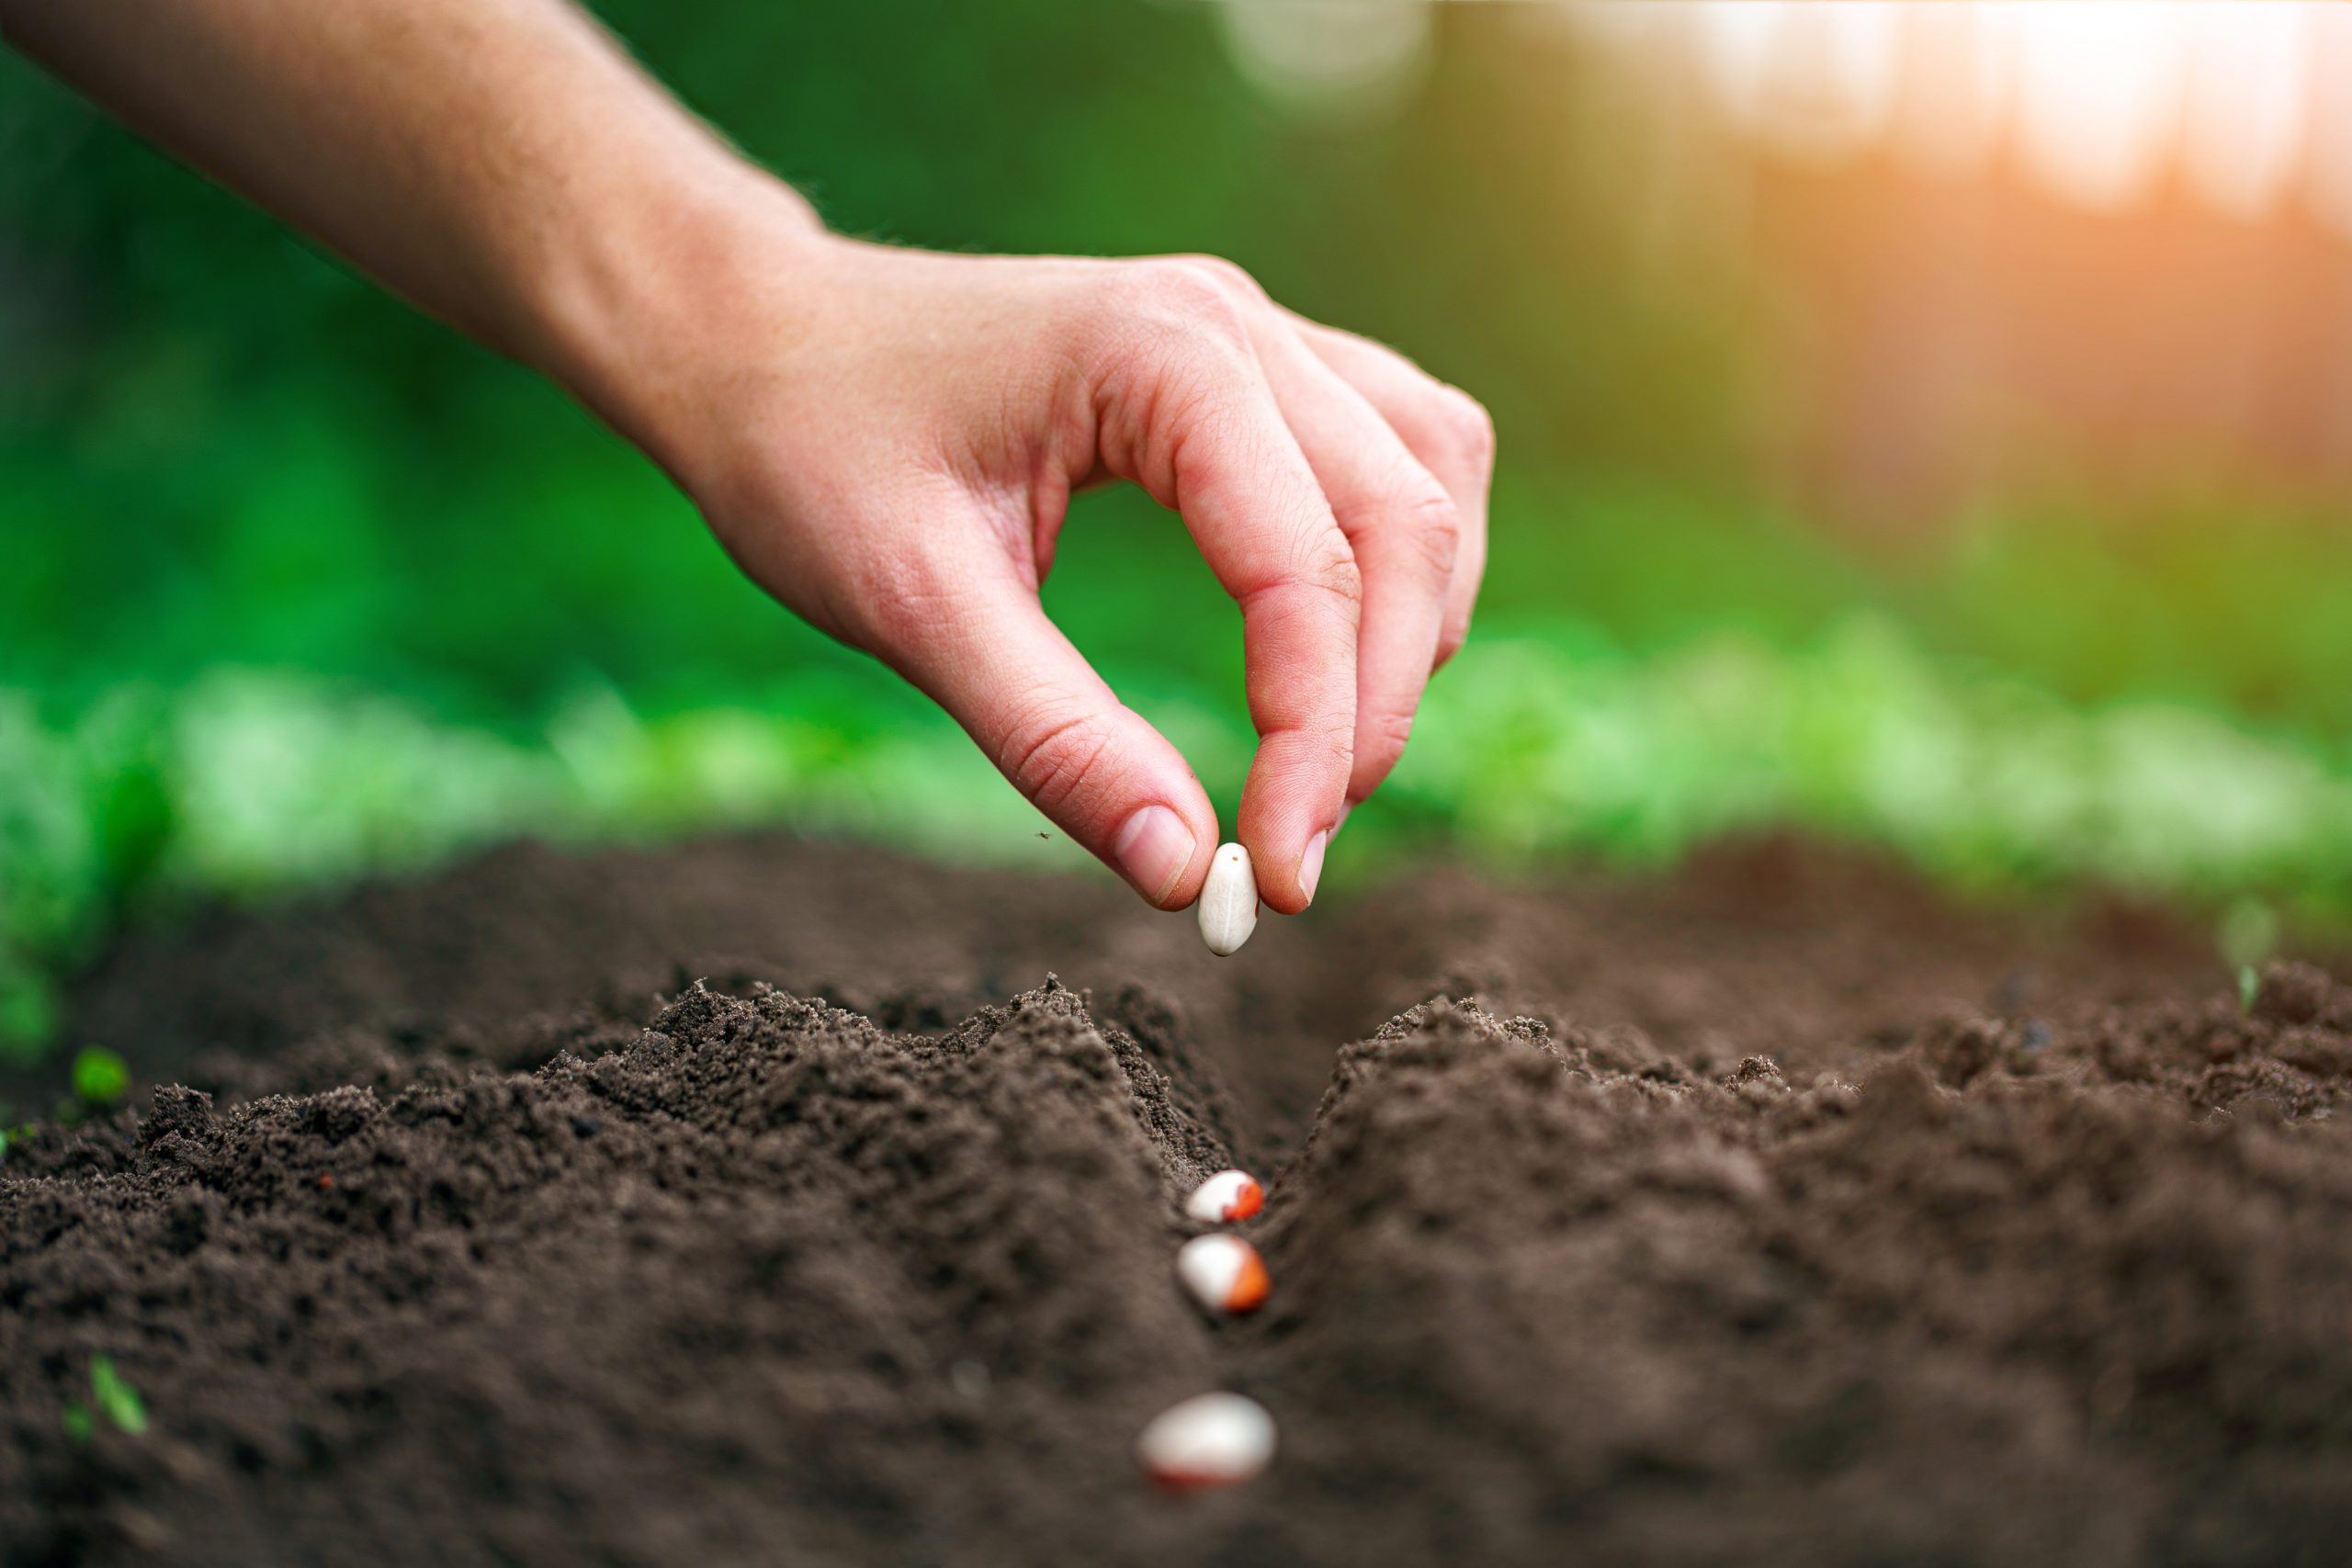
Now you are ready. Place the plant (or seed) in the hole and cover. If your are using seeds fully cover the seed. There is no need to make a mound just make sure it is covered and not too deep. If you are using plants cover the roots as they were in the container you purchased them in and then add about a half of an inch of soil above that. Make your holes the correct depth. Never compact the soil around the plants or seed. The next step will take care of that. Mark each plant location with some sort of marker that will help you remember where and what it is.
Finishing Up
Once everything is planted water thoroughly. This first watering will compact the soil but not compress the roots or seed. Water until a small puddle forms. Don’t worry this is just to soak the soil through the water will drain away if you have setup the drainage layer correctly. If the puddle stays you have a drainage issue and may need to start again to have healthy plants. Most need to be watered from the top down, however there are some like cabbage that doesn’t like water on the leaves. Check each plants requirements before purchasing.
Final Thoughts
Now we come to the hardest part of keeping a plant nursery… keeping them alive. Check the soil daily, if the soil is damp on the surface skip the watering. When it feels dry (a good way to judge this is if it sticks to your finger it is damp) water until there is a puddle at each plant. Make sure it drains. Remove any dead or dying leaves. Remove any “suckers”, the small shoots that grow at the base of another shoot. As always research your plants and how to care for them. There are a lot of plant care resources out there. Enjoy your journey and reach out to us if you have any questions.

0 Comments